1. Overview
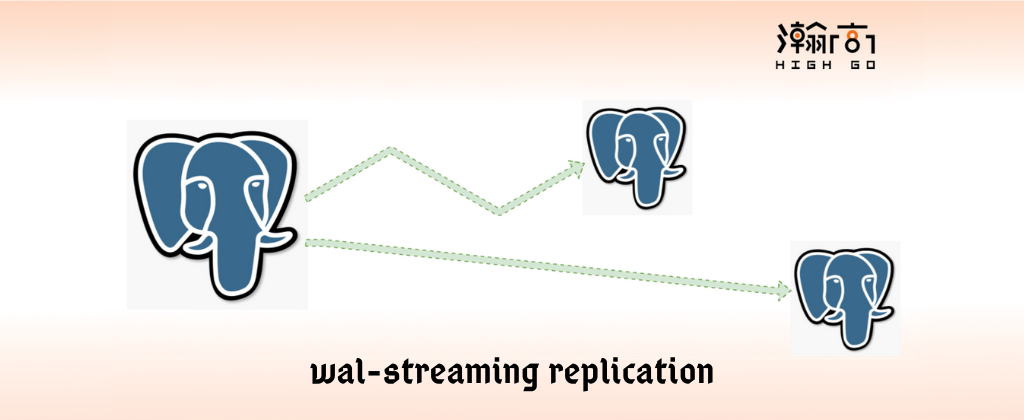
PostgreSQL supports different type of replications, i.e. logical and physical. There are many tutorials discussed about the replications. This blog is a simply walk-through of the WAL Streaming replication using the latest Postgresql-13 on Ubuntu 18.04.
2. Install Postgresql-13 from source code
In this blog, we will install Postgresql from the source code, so that this environment can be used for later development. Simply prepare two Ubuntu 18.04 using VirtualBox with below Network settings:
1 | Primary: 192.168.0.181 |
It is pretty simple to install postgres from source code. Here we checkout the Postgresql-13 stable branch from github.
1 | $ mkdir sandbox |
Install the basic build environment on Ubuntu 18.04 and then compile and install Postgres by using below commands,
1 | $ sudo apt install -y pkg-config build-essential libreadline-dev bison flex |
Setup the environment for Postgres database, for example,
1 | export PGDATA=$HOME/sandbox/pgdata |
3. Setup Primary Server
In order to setup the WAL streaming replication, first, let’s create a new database by running the command below,
1 | initdb -D $PGDATA |
then we need to add the permission to pg_hba.conf file to enable a Standby server to access a Primary server.
1 | host replication all 192.168.0.182/32 trust |
and then update postgresql.conf file to let the Primary server listen on all network interface so that a standby can connect to it.
1 | listen_addresses = '*' |
After all the changes changes, we can start the Primary server,
1 | pg_ctl -D $PGDATA -l /tmp/logfile start |
4. Setup Standby Server
Once the Primary server is up, we need to create a backup base. This can be done on either Primary side or Standby side. Below is the command we can run on Standby server directly.
1 | pg_basebackup --pgdata=$PGDATA --format=p --write-recovery-conf --checkpoint=fast --label=mffb --progress --host=192.168.0.181 --port=5432 --username=vbox1804 |
At this point, most of the tutorial will discuss about the recovery.conf setup. However, PG has removed recovery.conf file and merged the corresponding configuration to postgresql.conf. Without knowing this, if you simply follow some old tutorials, you may get an error like below,
1 | FATAL: using recovery command file "recovery.conf" is not supported |
The reason is that the recovery.conf has been removed and the relevant configuration has been merged into postgresql.conf. For details, please check the commit below.
1 | commit 2dedf4d9a899b36d1a8ed29be5efbd1b31a8fe85 |
Now, let’s just make a simple change for some basic parameters to Standby Server postgresql.conf file.
1 | primary_conninfo = 'host=192.168.0.181 port=5432 user=xbox1804 password=mypassword' # connection string to sending server |
5. Create replication slot on Primary Server
In order to allow the Standby to connect to Primary, we need to create the corresponding replication slot like below.
1 | postgres=# select * from pg_create_physical_replication_slot('standby1_slot'); |
6. Start Standby Server
Once the replication slot has been created i.e. ‘standby1_slot’, let’s start the Standby server.
1 | pg_ctl -D $PGDATA -l /tmp/logfile start |
If the Standby server is setup properly, then you should see below message from the log file.
1 | LOG: started streaming WAL from primary at 0/3000000 on timeline 1 |
Now, if you check the replication slot on Primary server again, you should see the replication slot is active and the wal_status has been changed to reserved.
1 | postgres=# select slot_name, slot_type, active, wal_status from pg_replication_slots; |
7. Test WAL Streaming replication
After all the settings has been done properly, we can start a simple test to verify the wal streaming replication setup.
First, let’s check if there is any relations on Primary server, for example,
1 | postgres=# \d |
You can do the same check on Standby server side. After that, let’s create a table on Primary server,
1 | postgres=# create table tbl1(id int, text varchar(10)); |
Then simply insert one record like below,
1 | postgres=# insert into tbl1 values (1, 'helloworld'); |
Now, if you check on the Standby server, you should be able to see the table and a record have been replicated.
1 | postgres=# \d |
8. Summary
This blog simply walk-through a very basic WAL streaming replication, if you want to know more about the replication, you can always check it out on Postgresql official website.
Reference: